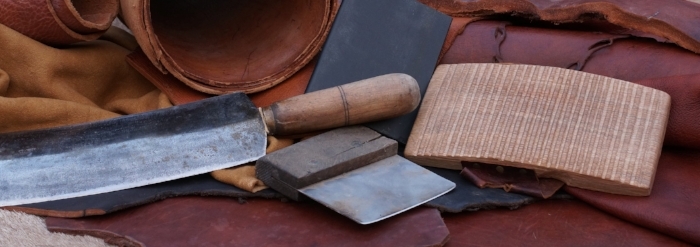
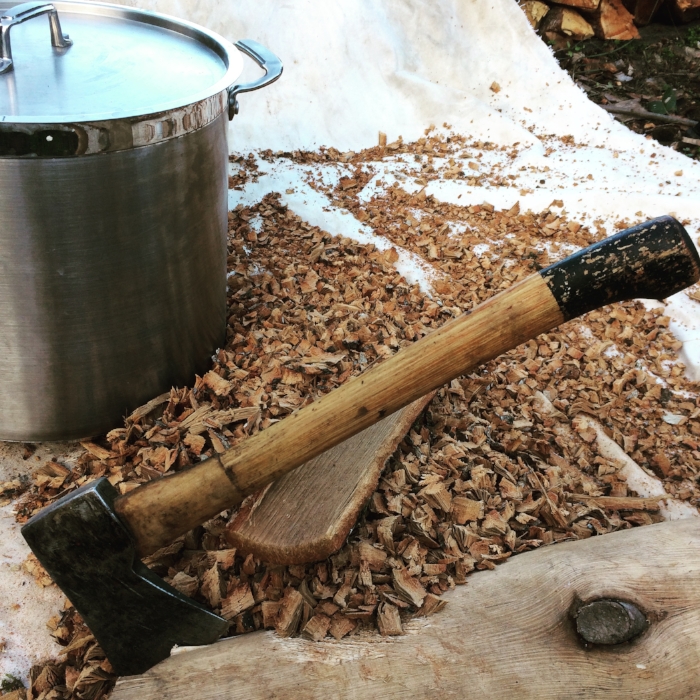
On the road from raw skin to leather, there are many potential mishaps. Skins and plant liquors are potential food for bacteria, yeasts and fungus and growing the wrong ones, or too many, or for too long, can damage or blemish a hide. When dealing with natural materials, we typically have a sizeable degree of variability to contend with. It is very likely that home tanners are dealing with materials and quantities they aren’t familiar with.
One cluster of mistakes that all lead to similar results or scenarios stands out as the worst common error. Put most simply it is, that the hide is left for too long, in solutions that are too weak. This can come about in various ways and have differing effects, but it is super common. In this video, I lay out the typical scenarios and try to offer an approach to prevent them. This is an important video for anyone starting out in bark tanning, because this general area of understanding is so often lacking in the beginning. Nearly everyone seems to make these same mistakes, I know I did, and they need to be headed off intentionally.
Because there are so many variables in natural tanning, it is impossible to accurately quantify all of this. I can’t give out step by step instructions with times and quantities. It just doesn’t work very well that way with all the variables involved, not the least of which is tannin content by species, individual trees and condition of materials. What I can give is a general approach to this problem that will allow you to adapt to new materials and unknowns. That essentially involves observation and understanding the typical way things go as far as the hide tanning rapidly at first, then requiring a high enough level of tannin in the liquor to preserve the skin as it finishes tanning. Also, that some color in the liquor is not necessarily indicative that is has any tanning power left. There is a measuring device called a barkometer, but I don’t own one and find that I can judge when to add tannin by observing the liquor and behavior of the skin. Bullet points are…
*Always look at the liquor, before, after and during, just always; any time you add liquor or check the skin, or have a new batch of liquor. Pick it up in your hand and look at the color and density. All materials are different in color and how much tannin v.s. other coloring matter they contain, so you are making comparisons mostly with fresh, v.s. used and partially used samples of whatever you happen to be working with.

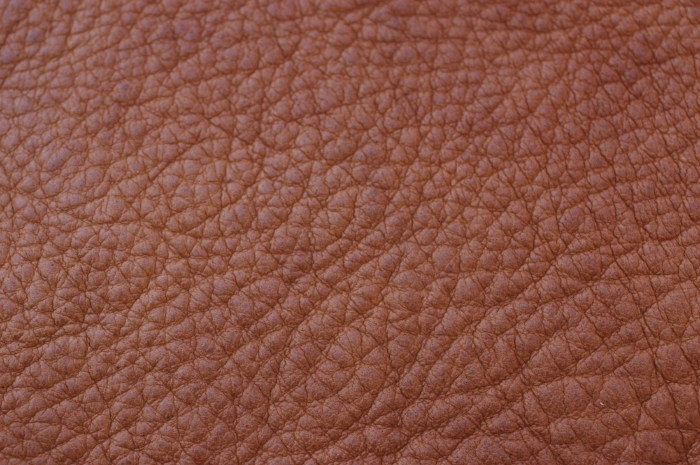
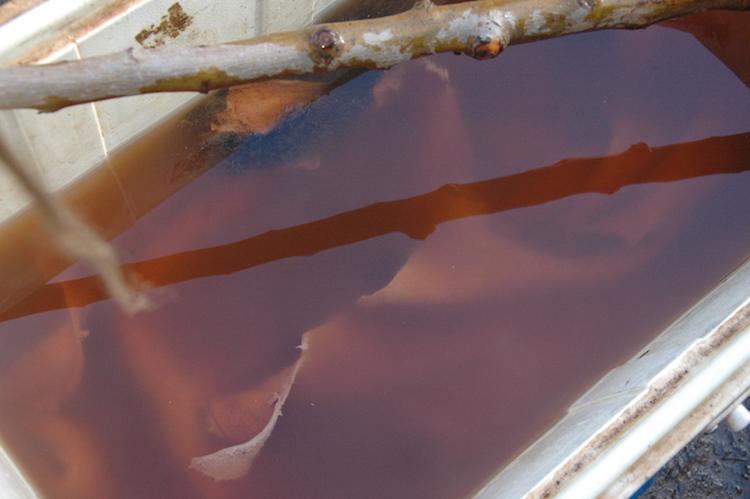
This fresh, strong bark liquor has a bright look and high color density
This solution, while retaining some color, has no tanning power left, or not enough to matter. It will grow bacterial scum on top and the hide will decay slowly, because it is just starting to tan. All color is not indicative of effective tannin. With a wll prepared skin in new starter solutions, this phenomenon can happen in one day. Unless you add a lot of tannin quickly, (which is sometimes okay) it will keep happening, but eventually it will slow way down and the solution can be left for long periods of time unattended.
*Understand that in the beginning, hides typically take up tannin very fast.
*If the skin is left for any length of time, the liquor needs to have enough excess tannin to adequately preserve it, and also to insure that tanning continues to progress.
*Be prepared to gather/prepare/add more tanning material as needed. Thoughts such as you used a “lot” or it “should” be enough are not really relevant. It’s either doing the job, or you need more. Sometimes that is a lot if the materials are not very rich in tannin, or it is something that is just hard to gather in enough mass.
*A healthy tan can smell quite strong and in a way unpleasant. I would characterize it as unpleasant, but kind of intriguing and not just flat out disgusting or vile. It is an odd smell that will cling to your skin for a time after touching it. While an element is unpleasant, there should also be a large measure of fermentation to the smell. All of that is normal. It shouldn’t just smell putrid or flat out offensive in the way that rotten food, a dead animal or an outhouse does. Some growth of stuff on the surface can be normal.
*Typically, tanning will progress very rapidly at first, then slow down a lot as the core of the hide slowly tans. Keep the solution rising in strength if anything during this initial phase, then leave it strong enough to maintain a healthy tan as it finishes. Common ways to fail at this objective are: Using low tannin materials, not using enough material, putting the hide in and leaving it without strengthening the tan, Judging by how much it seems like you’ve used instead of by how tanning is progressing (or not), and what the liquor is doing.
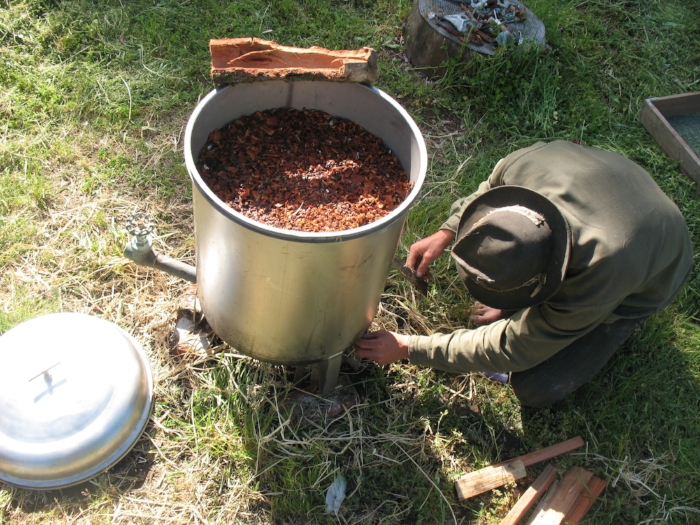
*A fairly reliable approach is to cook the material twice. Use the second cook liquor to start the hide, with some water add as necessary to cover the skin well. observe the liquor before putting the hide in. Add the stronger first cook liquor over the several days as you see the liquor depleting and the hide tanning. If you run out and it still seems to be drawing down the liquor, make more. I also talk in the video about dumping some of the liquor to bring the water level down and the tannin level up to get a solution you can leave the skin in. When it is no longer rapidly depleting, you can get the strength up and attend it less frequently. This approach gets most of the tannin out of the material, prevents any possibility of tanning the skin too rapidly in the beginning, is continually adaptable, and encourages familiarity with our materials and their tanning potential.
That is the quicky version, but it should be enough to avoid this worst common problem in bark tanning.
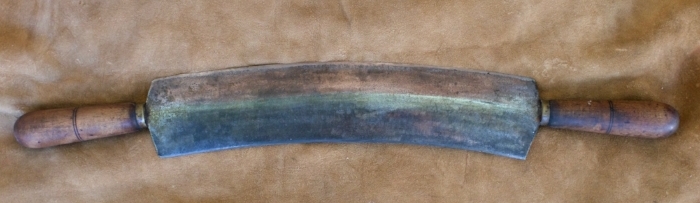
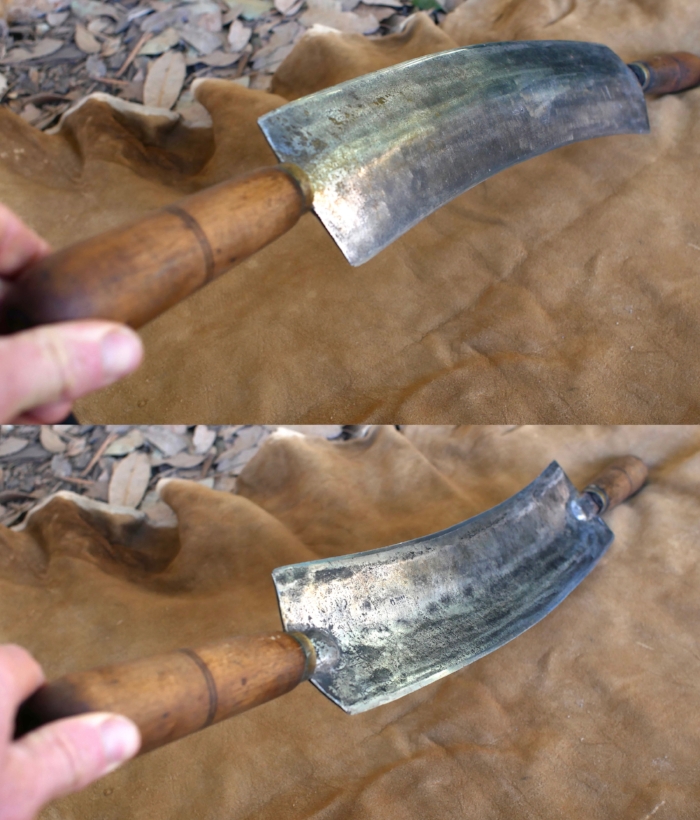
I’ll link two video playlists here. One is a lot of useful general tanning videos and the other is my strops from scratch series, which follows the tanning of a deer skin with oak bark.