"None of these goals and design parameters will be considered in a myopic sense. Context must be considered with an assessment of cost benefit ratios in a holistic sense that includes values beyond convenience and control."
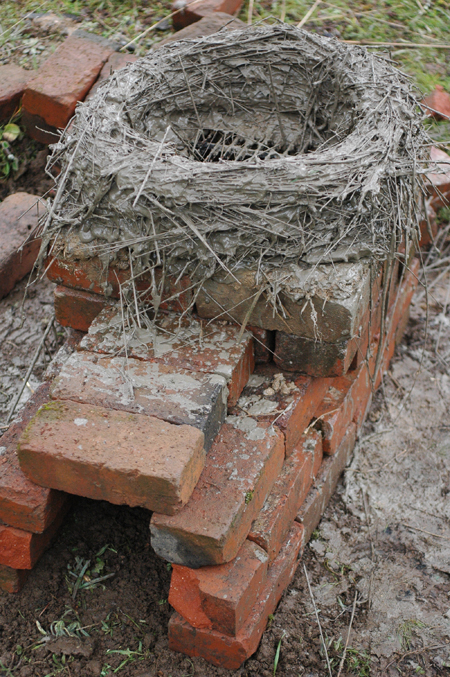
After taking lime burning in a steel drum as far as we felt we could without adding something to the drum. Tonia and I decided to venture off into building a kiln with available materials. That was one goal- to explore the possibilities of available materials. Another was to experiment with design changes in order to improve smoke and efficiency issues. We decided to add a grate and a fire box to see where that would lead us and how effective burning the fire separate from the shells might be. The metal drum taught us that we needed either insulation, or mass, or both together which I gave the silly, but relevant, name massulation. We thought of using some bricks that were around, but decided to go a little more primal using stuff we might be able to scrounge up anywhere. That meant having a base which could support a grate. We chose to use bricks for just the base because it was faster for our experimental purposes than mudding one up with cob, though the cob would probably have worked better. We slapped some mud onto the outside of the bricks to seal most of the air leaks. The base had a short firebox leading to a grate at the bottom of the column.
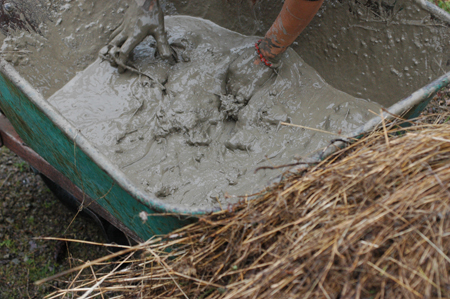
I got the idea for the kiln body material from a visit to Emerald Earth, a local community that does a lot of natural building. They use a wattle and daub system that replaces the stick wattle with bundles of straw dipped in clay slip. I decided that it would probably work for burning a kiln at least one time. It seemed like a lot of work, so to cut down, we just dipped the bundles of straw in slip and laid them up without any vertical supports. And it worked fine. We pulled up bundles of dry wild grass straw, dipped them in a rough clay slip made using some clay from a deposit here on the land, and just built it right up. The walls turned out about 3 inches thick or so. Since the straw is hollow, and the slip has substantial weight, this system gave us just the massulation that we were after with very little effort. Our friend Yoshi said it seemed kind of like a pet and the name stuck.
The shape of the body was somewhat constricted toward the top. Given no limitations in materials, I’d be inclined to build a kiln slightly bulged in the middle and constricted slightly at top and bottom, with the top considerably more restricted. Many traditional kilns are made this way. I can’t say why for sure, but I think it’s because the larger space in the middle would give the gasses and heat a place to sort of spread out and slow down, while the constricted top could further slow the gasses down. Also, if the inside is somewhat spherical or concave, the heat radiating from the heated walls would be radiating down and up instead of straight across, which would at least theoretically retain the heat longer as it bounce back and forth inside the curved walls of the kiln. That's what my intuition tells me anyway.
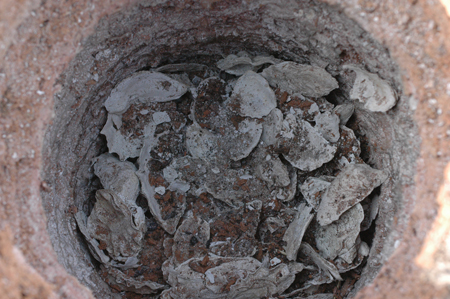
A small fire was kindled in the fire box to dry the kiln more quickly. When it was partially dry and firm to the touch we did a burn in it. Burning just the firebox, with no fuel in the kiln body was hopeless, as I suspected it would be. Maybe it could work if using a large burn chamber with a relatively smaller kiln and a ton of wood to really pump an intense amount of heat in there. Such an arrangement might also require more insulation than we had. While our straw/clay kiln body contained a lot of pore space, there was also a considerable amount of clay in the body which would suck heat away. Still, I don’t recall the outside of the kiln ever being super hot, so we were retaining most of the heat, or at least losing out the top as would be expected, rather than out the sides. Using alternating layers of fuel and shells, the firebox seemed of some assistance in getting the fire off and running with less smoke, but probably not enough to justify it’s existence. Overall, I would say that the firebox was a fail. The good news is that the percentage of thoroughly calcined shells did go up when doing mixed fuel/shell burns. Shells touching the side of the kiln were not destined to be under-calcined as they are when using a plain steel drum.
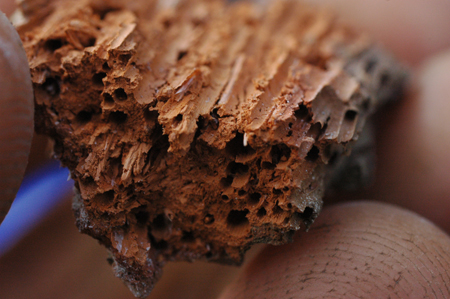
We burned at least 8 burns in the pet before it disintegrated. It was covered from the rain at all times. It became fragile after a few burns and was barely nursed along for the last 2 or 3. That seems like a waste of effort, but there are good points. I think the burned clay will make a great soil amendment, we didn’t have to buy anything, it was fun to build and we got a little exercise. In researching historic accounts of biochar in Europe and North America, I found a number of references to the great value of burned clay being used as a soil amendment. The clay burned from the pet is really neat. The straw burned away in most of it, leaving small tubes throughout. A nifty system might be to burn agricultural lime in a similar kiln, while producing charcoal if possible, and then putting the whole lot into the soil when the kiln is too burned out to use anymore. It may be quite a bit of work, but the charcoal and clay should be a permanent investment, not like a one time fertilizer application.
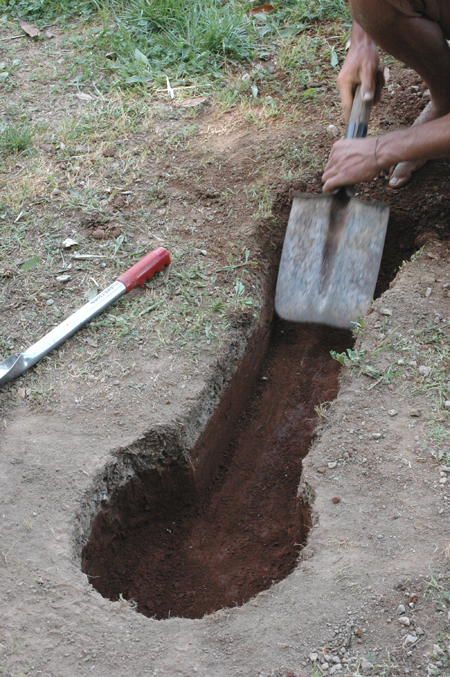
Pet version 2.0 was built at The Buckeye Gathering in 2012. We built this one with Bryce the blacksmith as a dual smelter/lime kiln, using a bale of wheat straw and clay slip. Bryce collected some iron ore to smelt and we thought we could maybe cook two birds with one kiln. this time we dug into the ground a little to make a gathering area for the slag. That didn’t work so well with the lime burning, and probably not for the smelting either. It just created a cool zone against the back of the kiln, in spite of adding 3 vent holes at ground level. The lime burned, but there was a high percentage of under calcined shells. The smelting also failed, but we were inclined to think that fail was due to bad iron ore rather than to the kiln design, or management. Lesson learned for lime burning, the air should come from the bottom of the kiln, not part way up. That may not be true in taller kilns, but for the micro scale kilns, I think it probably is very important to have the air enter at ground level. This kiln was only burned twice and was then abandoned on site, but it had more burns in it yet.
The pet’s straw clay concept is pretty cool. It’s fast to slap together and doesn’t require that you buy anything. Once burned out, there is no waste and, if anything, the leftovers are useful. I would recommend building it on a low cob base, or just on the ground leaving four vents at ground level created by two shallow, intersecting trenches crossing each other in the center. A slight constriction toward the top would probably be a good idea. If the kiln is taller than you can reach into from top to bottom, you would probably need to build in an archway at the bottom for cleaning it out. This design, which is basically like burning in a drum (see part one of this update), but with mass and insulation, does not solve the problem of excessive smoke. For that solution, it’s back to the drawing board. Smoke can be reduced a little by starting a fire before adding wood and shells in layers, allowing each layer to get underway before adding the next. Burning from the top is also an option, but probably would require extending the height considerably with some provisions for flaring off gases (see below for more on this concept.) Cob (a mixture of clay, sand and straw for those who don’t already know) could be used to build a kiln and would probably outlast a pet by a long stretch. It would also be a lot more work and still far from permanent. Cob would also be much less insulating than the pet’s clay coated straw construction. I have the good fortune to hang out a little with Kiko Denzer each year at the Buckeye Gathering. He is pretty savvy when it comes to fire stuff. One of his ideas was to use sawdust, or probably more like wood flour, mixed with clay to build a kiln body; he says this is how firebricks are made. The sawdust would serve as a sort of aggregate, but would burn out when fired, leaving a light, porous material. Another idea he tossed out was to try a technique used in firing pottery, where the wood and pots stacked together are wrapped with newspaper which is first dipped in clay slip. This forms a temporary kiln.
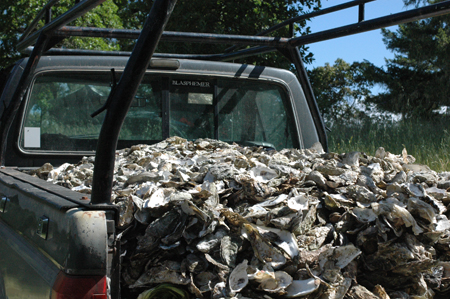
If energy and other priorities don’t get in the way (not unlikely), I’m hoping to explore home-scale lime burning some more. The objective is to keep kiln design simple and accessible in order to remain inline with homey goals, while increasing efficiency and decreasing pollution in the form of smoke. Raising the percentage of thoroughly calcined shells as close to 100% as possible is also on the agenda, but that really falls under efficiency. None of these goals and design parameters will be considered in a myopic sense. Context must be considered with an assessment of cost benefit ratios in a holistic sense that includes values beyond convenience and control. This is important (thus the bold italics ;). For instance I am not going to focus narrowly on 100% calcination if it means burning 50% more fuel. And what would I profit from a small gain in any goal if it means buying 500.00 worth of special manufactured insulating material or switching from wood to propane? The smoke issue will probably take priority for now. I’m interested in a concept called TLUD Top Lit Up Draft. I did one top lit burn in the pet using a piece of stovepipe to extend the kiln in order to provide draw. The TLUD concept also requires flaring off of unburned gasses which, for me, was provided by unsealed gaps between the top of the kiln and the stove pipe. The burn went Ok as I remember (though I'm not sure how well I do, I think I'd remember if it went very poorly), and with much less smoke. so I’m encouraged. The basic concept is that the draft comes in at the bottom (the air is often preheated by passing through a space between the inside container which holds the burn and an outside layer) and travels all the way through the kiln where it is consumed by the fire at the combustion zone. Since the fire is lit from the the top, it is not smothered by a giant pile of fuel and shells as it is in a bottom lit kiln. The fire is actually starved for oxygen in a way, but the extra gasses created by that are flared off at the top of the unit, consuming all of the smoke. The TLUD concept is used in gasification stoves and to produce biochar. I have some new metal drums to play with and already hope to be exploring this idea for making charcoal to use as a soil amendment. Finally, I’ve been interested from the start in exploring the possibility of producing biochar and lime at the same time. I have no idea if that can work yet, but I’d sure like to try. I hope to produce a lot of char anyway and it would be nice to use that heat for something. Since we have acidic soils here, lime is a necessary addition, though using char in the soil is supposed to help raise ph as well. I can get oyster shells by the ton for cheap or free (except gas and driving of course), so calcining a few shells while already producing a bunch of heat during charring sounds pretty awesome. If that works, I have a feeling it will be in a fast burning, high heat TLUD design with mostly wood and just a few shells. Those shells would still add up though when making a lot of char. Hopefully this will not be the last lime burning post. If anyone tries any of these ideas, please come back and let us all know how it went!


