LIME SQUAD! I: A PHOTOESSAY ON LIME BURNING
LIME SQUAD! II: THE SLAKING
Having burned some sea shells into quicklime in photoessay part one, it was time to slake the shells into lime putty.
In the morning we went out to the kiln all excited and grabbed a few well-burned-looking shells for a quick experiment. We put the shells into a dish and crushed them lightly with a spoon and added water. In order to turn into calcium hydroxide, a.k.a. lime putty, quicklime has to undergo a chemical reaction with water which creates a good deal of heat. Well, our quicklime just sat there cold in the water, no churning and boiling :( what a let down... After getting over our initial disappointment it seemed just not right that our lime didn't react. The shells were completely white through and through. So, we put the shells and water on the stove to heat a bit and that seemed to slowly kick off the reaction and eventually they broke down into lime putty. That was encouraging, but it wasn't time for the champagne yet.
I had pretty much decided that we should use hot water to slake at this point, but considering the time and energy we had invested so far we wanted a more informed opinion. I called Jeff Price at Virginia Lime Works who generously spent a small piece of his morning in the pursuit of my edification in regards to lime and lime burning. Sure enough, he recommended hot water to start it off when using shells because the structure of shells is less conducive to the slaking process than the structure of stone. The up side is that shells make more lime putty than an equivalent amount of burned stone. I took my page of notes and was ready to rock.
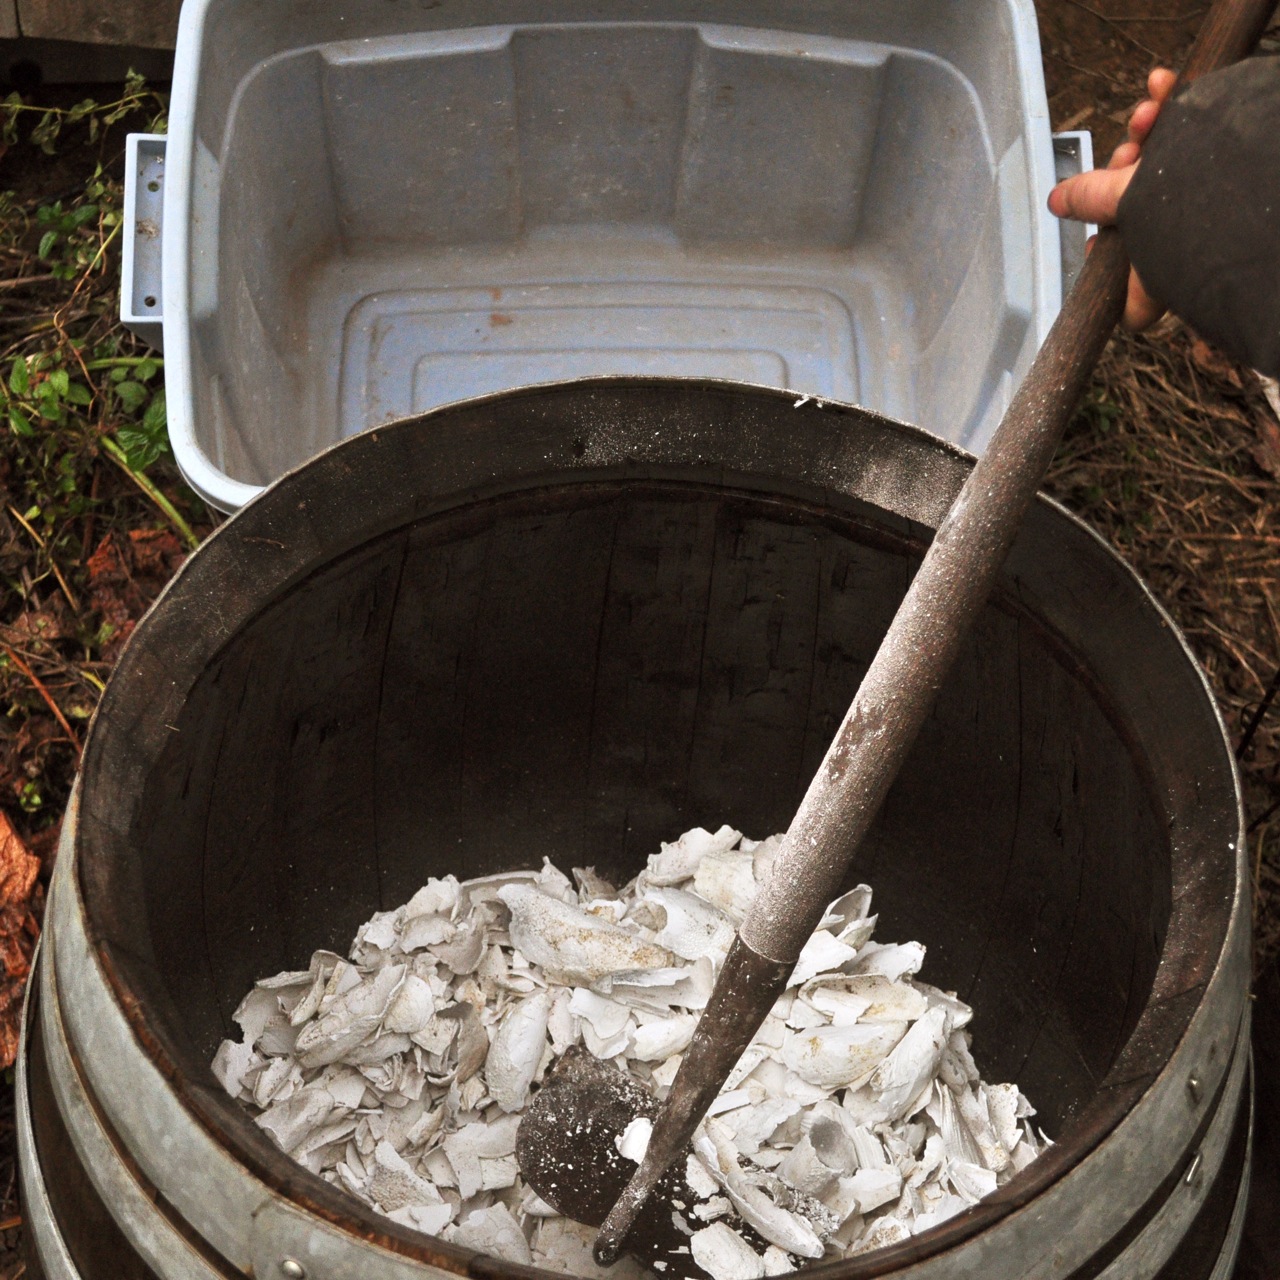
The burned shells were added to an old wine barrel pre-charged with hot water.
It wasn't long before the exothermic reaction began to take place. Note the surface of the water is roiling in this picture and the shells are starting to break down.
The lime was stirred constantly. Goggles should definitely be worn here. The the lime is dangerous not only because it is literally boiling and splattering but also because the Ph is very high making it caustic enough to cause chemical burns to the eyes.
Jeff had told me to keep the reaction going by constant stirring and addition of water as necessary. A lot of water was added as the process continued. The picture above shows the putty partially slaked, but still with a curdy, cottage cheese look to it. The lime was stirred constantly to keep this stuff in contact with the water it needed to insure a continued reaction.
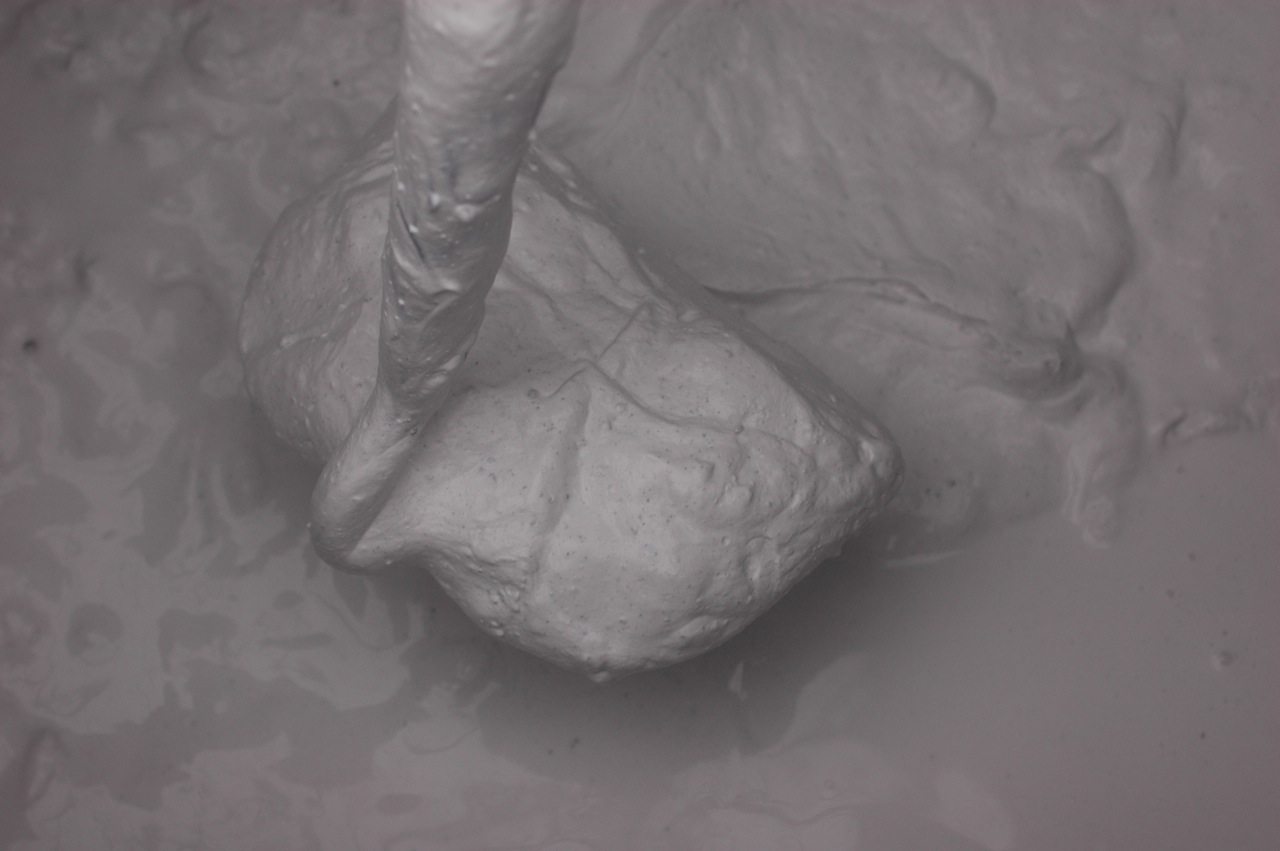
When the reaction had pretty much subsided the lime was broken down into a smooth batter-like consistency.
A few days after slaking the lime was stirred up with extra water to suspend the fine lime particles in a thin liquid for straining through a screen.
The lime was poured through a screen or two to strain out un-slaked particles which consist in this case wholly of under-burned shells. The remaining milk of lime was stirred again in the barrel with a quantity of water to allow remaining particles to settle to the bottom as the stirring subsided. If any under-burned particles remain, they will make good aggregate for plaster or mortar, but for the finest finish plasters or lime washes (lime paint) these particles would be undesirable.
From here the lime sits under its blanket of water. In time it will settle and congeal into a firm putty. Hopefully the barrel will facilitate this process as the porous wood draws away water from the putty allowing it to evaporate out the sides of the barrel.
So far so good. The seemingly small amount of shells expanded into a significant amount of lime putty... maybe 12 to 15 gallons?... and with the addition of at least two parts aggregate for almost any use, there is enough to do a significant level of experimentation in using it. It the meantime it ages away improving with time in its wine barrel vintage 2011.


